Still cleaning my room, organizing pictures to post to my ArtMakesKidsSmart Facebook page, and getting ready to settle into my new normal.
I'll be subbing here and there and then who knows.
I just lost my gas for blogging. I hope I can notify this group (if anyone is left) when I upload the final chapter of projects to my FB page.
In the meantime, have a great summer and happy Arting!

Sunday, June 25, 2017
Thursday, January 12, 2017
Monday, December 26, 2016
Christmas 2016
Christmas projects and activities for 2016. It's first time I was able to finger paint with kids because I have real sinks for cleanup! Art Makes Kids Smart Facebook Page

Sunday, November 27, 2016
November Activities are posted on Facebook
I've added a few pictures on the Art Makes Kids Smart community page here: Art Makes Kids Smart Link for November Activities
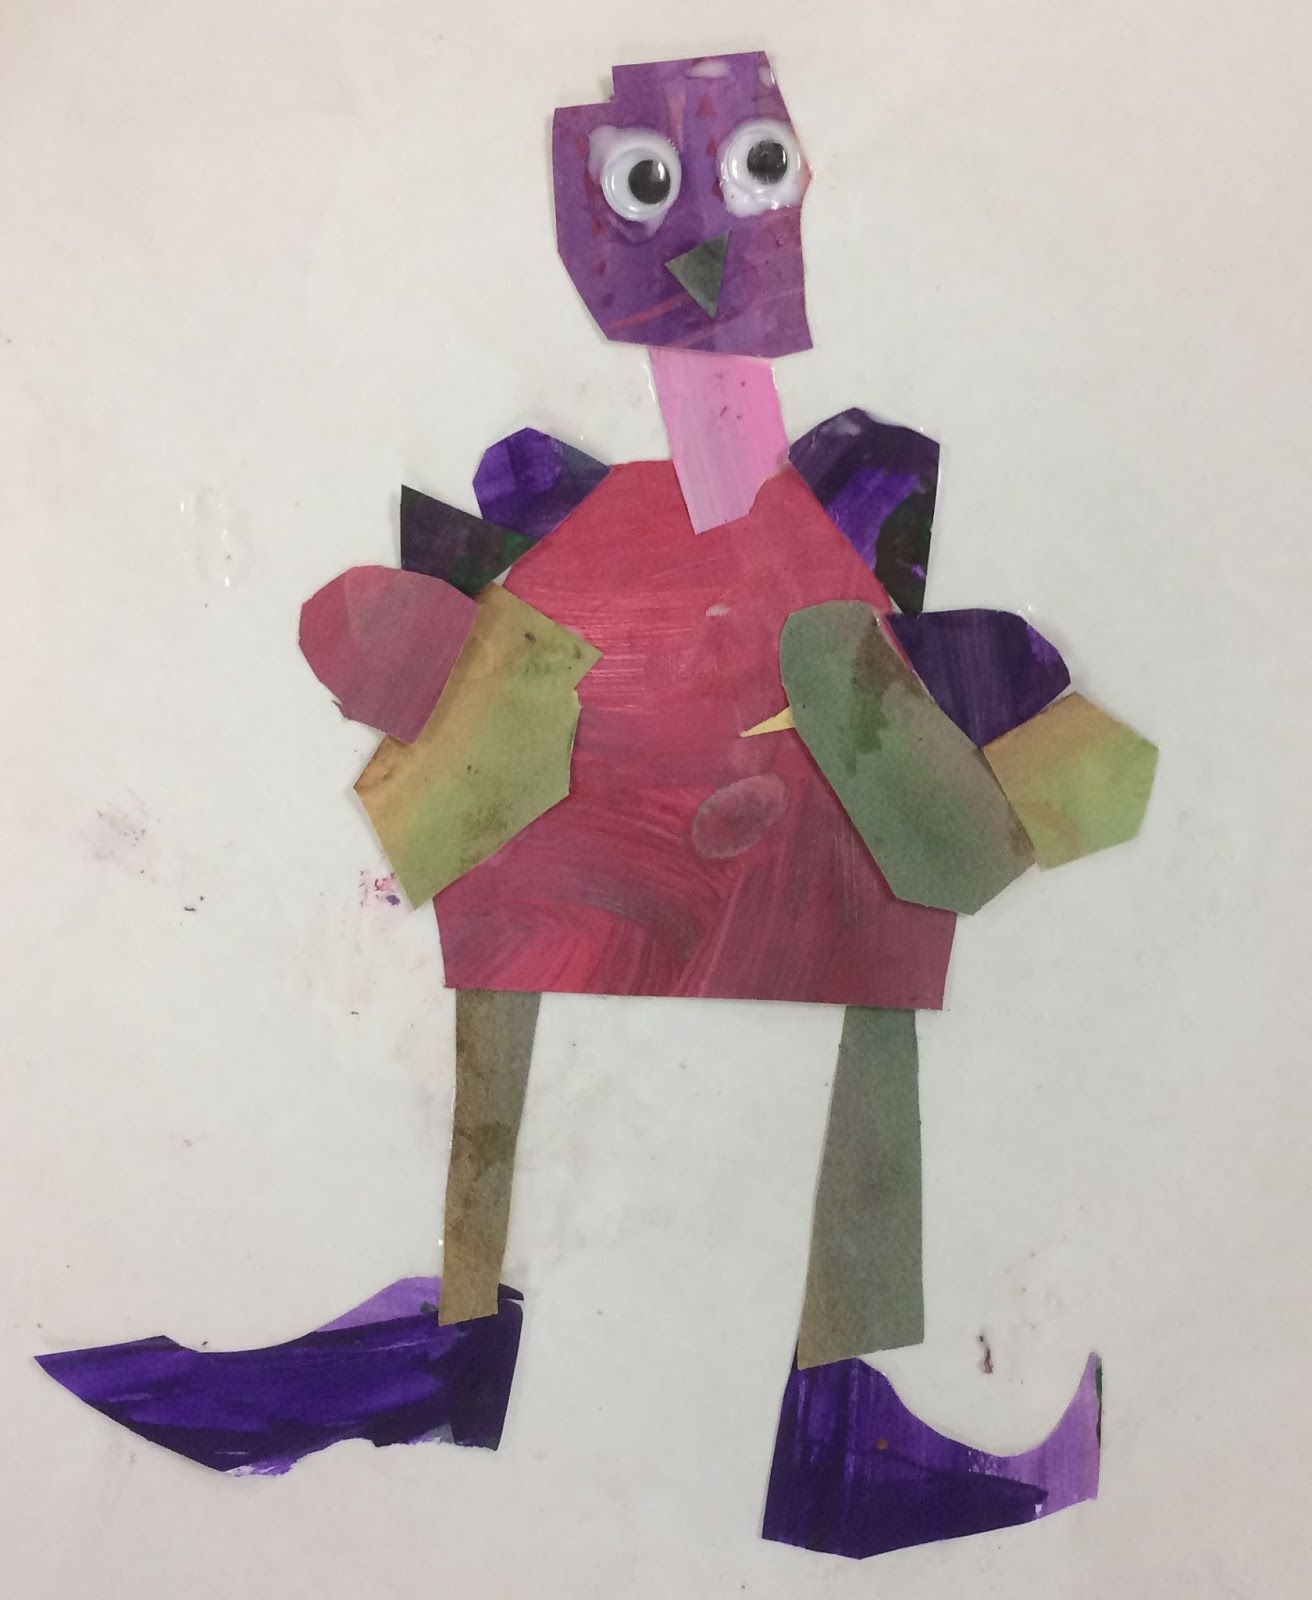
Lots of fun art going on. Mostly about turkeys. ;)


Lots of fun art going on. Mostly about turkeys. ;)


Saturday, October 29, 2016
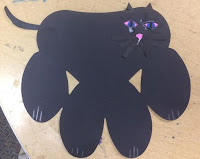
My last Halloween as the art teacher
My room is still being put together from my move. But we managed to get in lots of projects this October. I'm big on fun and being busy. We did lots of painting, drawing, working with oil pastels, and tons of construction art. Here are the pictures up at my FB page. It's a community page and open to all so you should be able to access. Thank you Pinterest for the ideas.
 https://www.facebook.com/artmakeskidssmart/photos/?tab=album&album_id=1381592581932541


My last Halloween as the art teacher
My room is still being put together from my move. But we managed to get in lots of projects this October. I'm big on fun and being busy. We did lots of painting, drawing, working with oil pastels, and tons of construction art. Here are the pictures up at my FB page. It's a community page and open to all so you should be able to access. Thank you Pinterest for the ideas.
https://www.facebook.com/artmakeskidssmart/photos/?tab=album&album_id=1381592581932541
Thursday, July 21, 2016
Clay Hands Kindergarten
This is an easy project and fun for the kids. The reason it's easy is I provide the clay to the kindergarten teachers and they have a station that runs through the week for tracing their clay hands. An adult does most of the work. After tracing the hand in the clay slab and cutting it out, you smooth out the edges and place the hand in a small bowl so that the hand stays curved when dried.
Then they come to me and I fire them in the kiln. To identify each hand I use the first two initials of the teacher plus a number (numbers decided from the attendance sheets). Those identifiers are put on the back (which will be the bottom) of the hand. Then the kiddos apply the glaze and I do a final firing. The results are cute. We make these for a Mother's Day present.


Then they come to me and I fire them in the kiln. To identify each hand I use the first two initials of the teacher plus a number (numbers decided from the attendance sheets). Those identifiers are put on the back (which will be the bottom) of the hand. Then the kiddos apply the glaze and I do a final firing. The results are cute. We make these for a Mother's Day present.


Subscribe to:
Posts (Atom)